Blog
Family Memories Month By Month
I’ve recently been inspired to create a month by month family photo album. This is something I have been wanting to do for quite a while, (and have talked about for quite a while!) but kept avoiding starting it as I thought it would be quite a time consuming project.
I finally gave myself the push to get going on it. After our new A4 Scrapbook range arrived, and customers were so excited to use them for their own projects, I knew that I also needed to have them in my home with my own memories to share.
Step 1: Organising The Photos
This really is the biggest step in the whole process, but actually very rewarding too.
I have all our family photos uploaded into Google Photos, with photos from my phone and my husbands phone automatically uploading to the same account so neither of us will miss out on seeing any new photos taken.
You may or may not use Google Photos, but I find this especially helpful and easy. There are many online photo storage options and you may already use one that suits you better. Currently I just use the free version of Google Photos and find that the resolution is more than fine for what I need. Photos downloaded and printed from Google Photos are very clear and good quality.
As the photos are already in date order in the app, all I needed to do was go through each month and pick out my favourites and save them to a new folder on my computer, each month has a separate folder.
Some months there may be 5 favourite photos, other months there may be 20.

Step 2: Creating A Digital Page In Canva
Once I had created a folder with 12 months of favourite photos (all in their own monthly folder) I then created a new A4 page project in Canva.
You may have seen my past blogs using Canva and the templates I have available for free. Canva is my go-to for creating anything digital. You can easily use the free version for anything you want to create, the paid version gives you a few more options as well as unlimited use to all the graphics.
So once you have created a new A4 document, its very easy to set up your page for adding your photos. I find using the grids very easy and it is a fast way to complete a page.
Simply in the Elements option on the left, type in “grid” and all the options for setting your page up will appear. Once you know how many photos you want to add to each page, scroll down until you find a grid layout that looks appealing to you and has the right amount of spaces for your photos. Just click on the one you want to use and it will be placed automatically on your page.

This grid layout can be used for any size page. Here is an example of a standard size photo 10x15cm that you could also use in a grid layout. When you download the finished page it can be printed as a photo at your local photo shop and put straight into an album or photo frame – you can see more details of this type of layout in my previous blog: TRADITIONAL SLIP-IN PHOTO ALBUMS – BORING OR SUPER CONVENIENT?
So once you have a layout you are happy with, you can upload your own photos by clicking on the upload button on the left and choosing photos from your computer. Once they appear, you can just drag them to the spot you want them to go to.
Some layouts you may choose to add text instead of a photo, and you just do that by clicking Text on the left hand side and choosing an option that suits you, then drag it to the box you want. You can change the colour of the box with your text by clicking the box and then click the small rainbow box above to choose a suitable colour.
You can also colour co-ordinate the text background to match your photos. When choosing a background colour, scroll down slightly and you will have the option to choose “Photo Colours”.

Step 3: Elements and Stickers
With all your photos where you want them, now you can be a bit creative and add stickers and graphics to your page to make it fun.
Click on Elements on the left, then choose Graphics and you will be presented with a big selection to use. If you are using the free version of Canva, look for graphics that don’t have the crown symbol on the bottom right of the image, these will be free to use. Anything with a crown is ok to use but will cost you $1 if you want to print or download without a watermark over it.

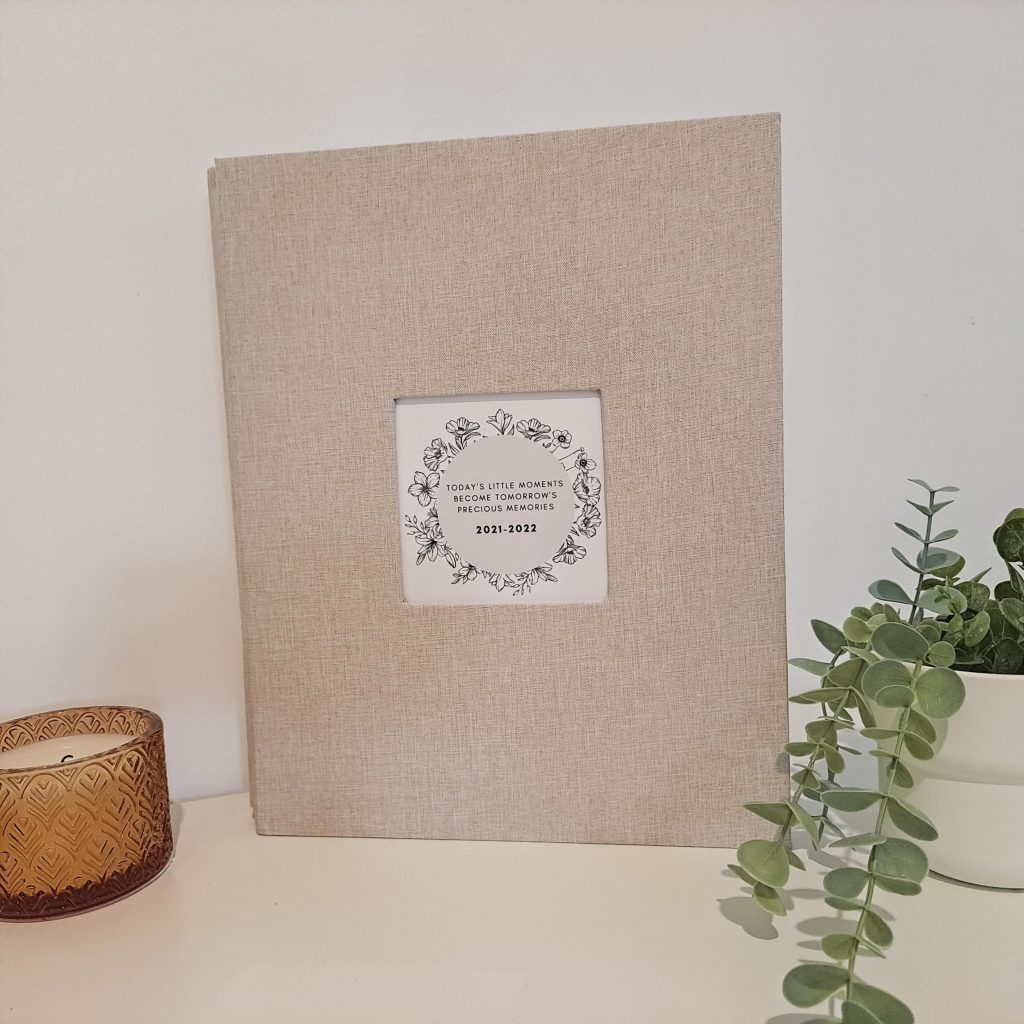
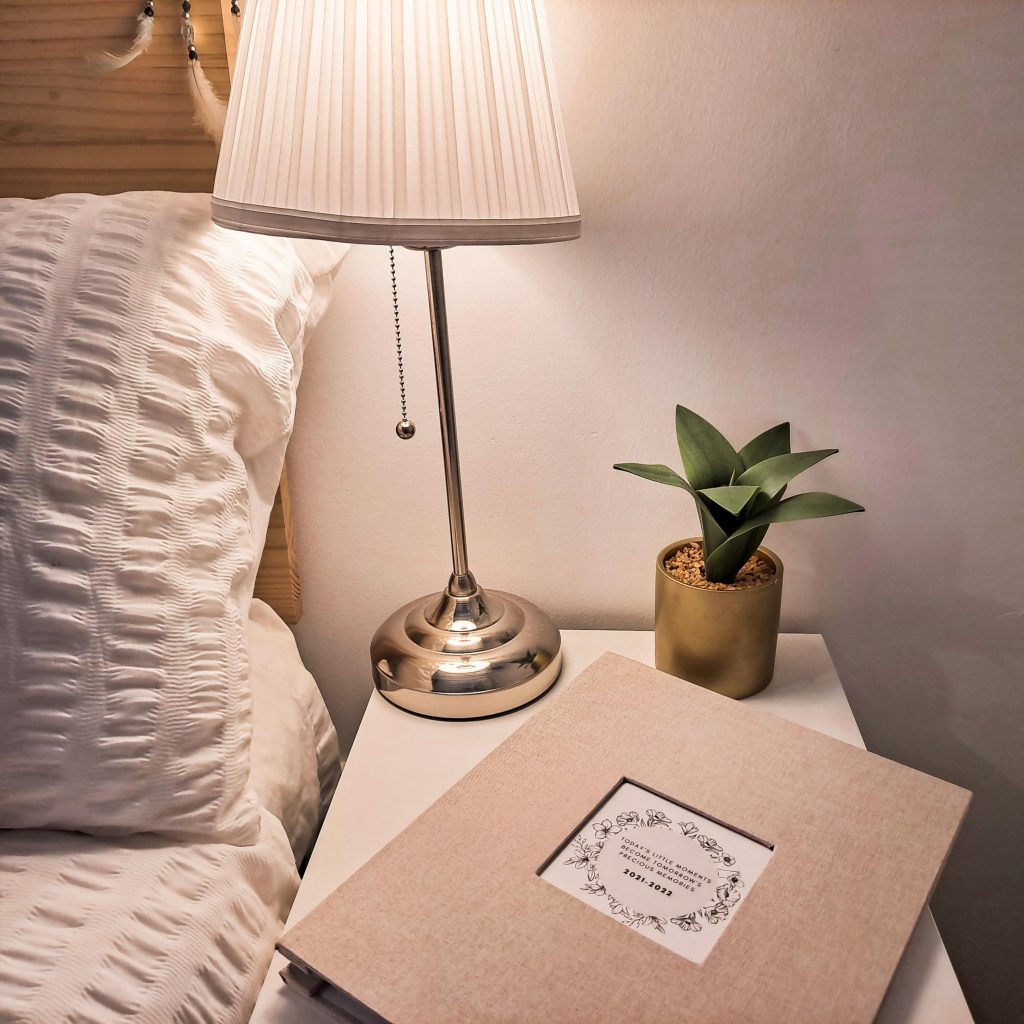
The A4 Scrapbooks have a window cut out on the cover allowing you to personalise every album. For my family month by month albums I have decided to go with a simple black and white outlined image with text in the middle.
I didn’t go to a lot of trouble to create this, and just used the templates to find something that looked appealing. There are more options than you would ever need in the Canva templates and if you want your project to look amazing but don’t have a lot of time to spend on creating it, or are just not too familiar with using graphics software, then templates are the way to go.
Add a new page and click on Templates on the left and choose something that you like.

After choosing the template I wanted, I deleted the background colour, changed the middle circle colour and replaced the text with a short quote and the dates that will be included in the album.

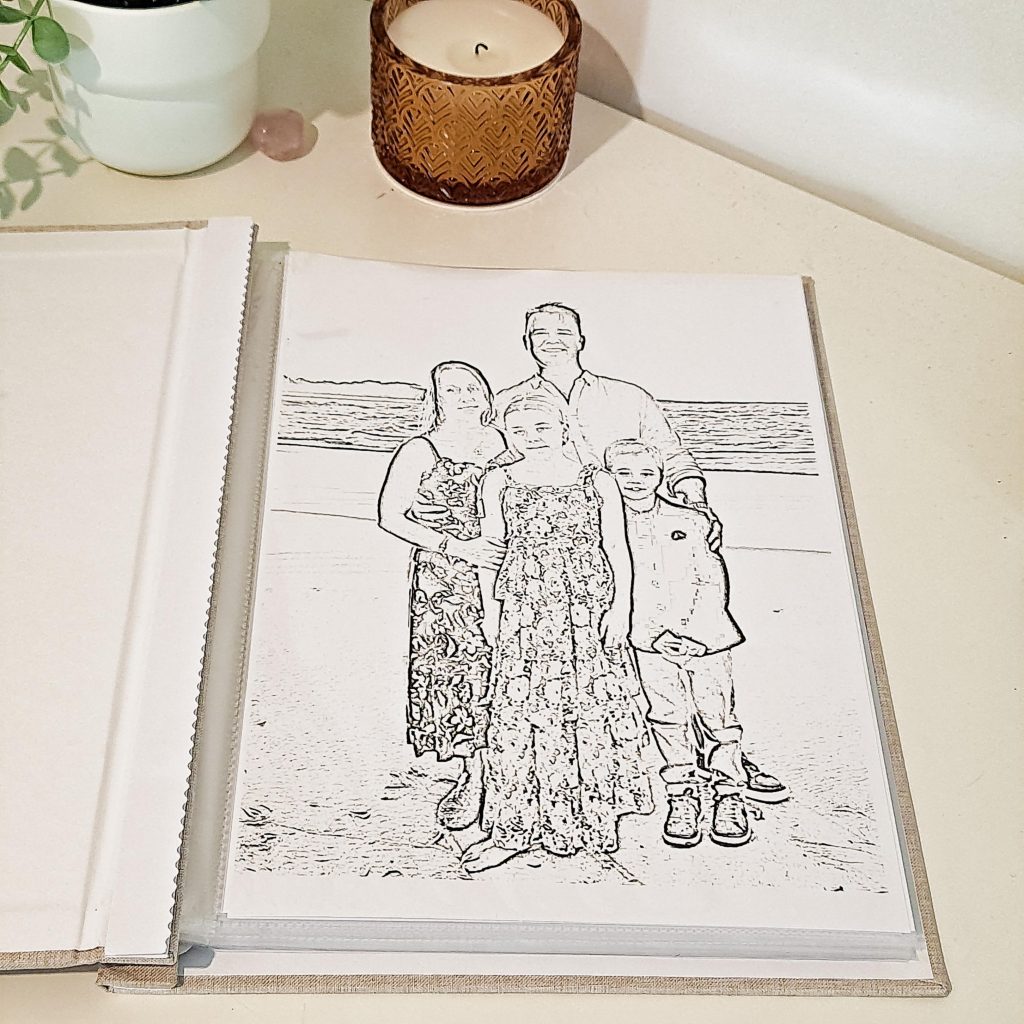
Next I decided that I wanted a family photo on the 1st page of the album, but wanted it to be a bit different.

I decided on the family photo to use and then went to the Pencil Sketch website:
This website is free to use. I simply clicked the upload image button, chose my photo and it appeared on the right hand side as a sketch. You can see the example they have used with the sunflower of the before and after effect.
I downloaded my image and then imported it to Canva to add to my album pages.
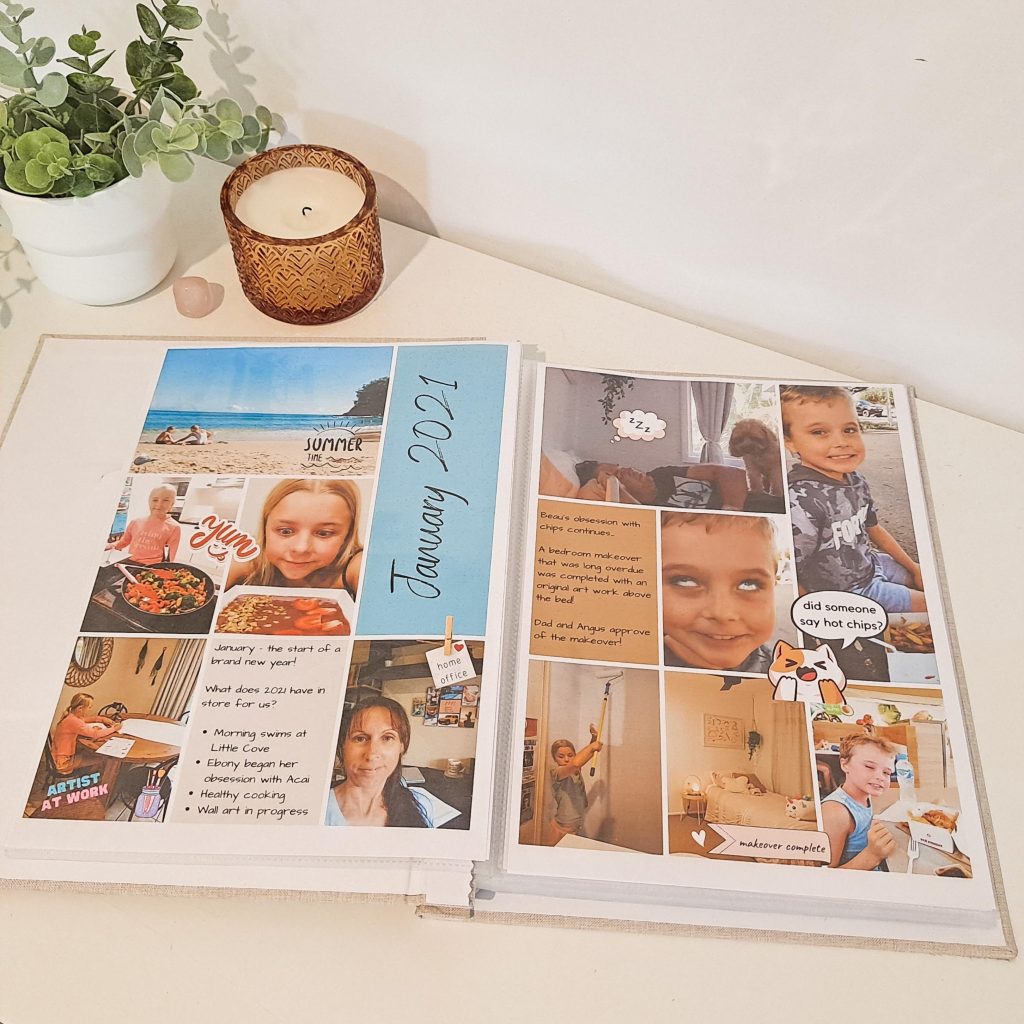
January pages finished

I hope this has given you some inspiration to create your own Family Memories Month By Month album.
It is very rewarding finishing each months photo layout and even more rewarding when you see the reaction on everyone’s face when they see themselves on the page!
What did I use in this project? Find these items here:
- A4 Scrapbook
- A4 Scrapbook Refill Pages
- Designs created with Canva and Pencil Sketch
* Please note, I have no affiliation with Canva, Google Photos or Pencil Sketch and do not get any commissions for my recommendations.
My opinions are based purely on my own experiences from personally using these programs.
Follow us on social media:


